If you’ve ever flown a drone, you know that the battery is basically the heart of your device. Without a good battery, your drone won’t take off—or worse, it could cut out mid-flight. Knowing how to replace your drone battery safely and correctly is super important, whether you’re flying for fun or professionally.
Why Drone Battery Replacement Matters

Drone batteries, usually lithium-polymer (LiPo) cells, don’t last forever. Here are a few signs that it’s time to replace yours:
- Your flight time is shorter than usual
- The battery looks swollen or puffed up
- It won’t hold a full charge
- The battery indicators are acting up
If you ignore these signs, your drone might not perform well and it could even be dangerous. Swapping in a fresh battery helps keep your flights steady, predictable, and safe.
Common Drone Models and Battery Replacement
DJI Mini Series
For drones like the DJI Mini 2, Mini 3, and Mini 4K, changing batteries isn’t too hard, but you still need to be careful:
- DJI Mini 2 & Mini 2 SE: From iFixit guides and Reddit tips, the battery can be popped out with your fingers. Don’t try to force it or use sharp tools that could puncture it.
- DJI Mini 3 / Mini 3 Pro: DJI has official instructions—just press the release button and pull the battery out gently. YouTube videos can also make this really clear.
- DJI Mini 4K: Installing a new battery is as simple as sliding it in until it clicks. Make sure it’s fully seated before turning the drone on.

Quick tip: Always power off your drone before removing or putting in batteries. It sounds obvious, but it’s easy to forget.
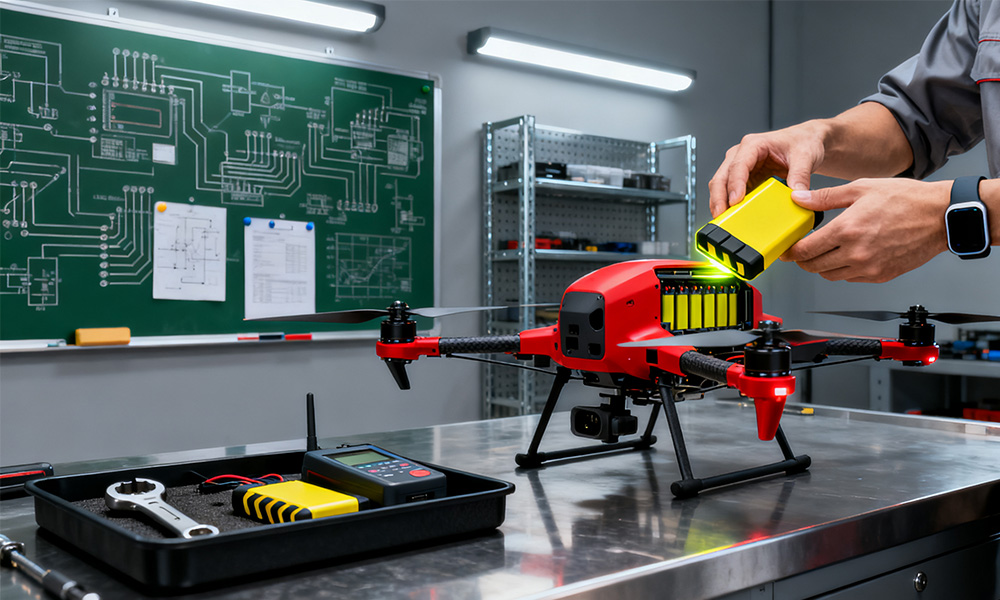
Step-by-Step Battery Replacement Guide
- Power Down: Turn off your drone and unplug it from any charger.
- Release the Battery: Press the battery release button or lift it out carefully. If it’s a snug fit, wiggle gently—never force it.
- Inspect the Battery: Look for swelling, leaks, or other damage. Damaged batteries are a no-go.
- Insert the New Battery: Line up the contacts and slide it in until you hear a click.
- Test the Battery: Turn the drone on and make sure the battery is recognized and fully charged.
Safety Tips
- Only use batteries that are made for your specific drone model.
- Never puncture, crush, or otherwise damage a LiPo battery.
- Store batteries at room temperature and don’t let them fully discharge if you’re putting them away for a while.
- Charge them in a fireproof container when you can—it’s safer.

FAQs About Drone Battery Replacement
Q: How often should I replace my drone battery?
A: Usually after 200–300 charge cycles, or sooner if you notice it’s not performing well.
Q: Can I put a Mini 3 battery into a Mini 2 drone?
A: Nope. Each drone model has its own battery with the right voltage and size.
Q: What do I do if my battery is swollen?
A: Stop using it right away. Take it to a certified LiPo recycling center.
Replacing a drone battery is one of the easiest maintenance tasks, but it’s also one of the most important. Follow these steps, and your drone will fly reliably, your battery will last longer, and you won’t have any mid-air surprises.
Leave a Reply