To make a 12V battery pack using 18650 lithium-ion batteries, I had to connect several batteries in series. Each 18650 lithium-ion battery typically has a nominal voltage of 3.7V, so to reach roughly 12V, you need to connect four batteries in series.
The principle is simple: connect the positive terminal of one battery to the negative terminal of the next, and continue this chain. This way, the voltages add up. So, four 3.7V 18650 batteries in series give a total voltage of 4 × 3.7V = 14.8V. While slightly higher than 12V, it’s generally fine since most devices can tolerate this range.

When I connected the batteries in series, I made sure to follow a few important rules:
- Use new or similarly discharged batteries to avoid large voltage differences.
- Install a battery protection circuit to prevent overcharging, over-discharging, overcurrent, or short circuits.
- Use appropriate wires and connectors for smooth current flow and to avoid excess heat or resistance.
- Follow all safety regulations and guidelines during assembly.
It’s important to note that making a battery pack can be fun, but it carries risks. Make sure you understand all relevant safety knowledge and regulations.
My 12V Battery Pack Assembly Process
Step 1: Arrange the Batteries
I started by laying out the idle 18650 batteries and added an insulating layer between them to prevent short circuits.

Step 2: Weld Nickel Strips
Next, I welded nickel strips onto the battery pack. After welding, I wrapped the entire pack with Kapton tape to increase sturdiness.

Step 3: Install the Protection Board
I attached the protection board using double-sided tape and then soldered the wiring according to the instructions.

Step 4: Test the Battery Pack
Using a multimeter, I checked the output voltage to make sure everything was connected correctly.

Step 5: Final Assembly
Once confirmed, I insulated the battery pack, soldered the output and charging wires, and charged the pack using a 12V charger. Then, I performed a discharge test to verify proper operation.

Step 6: Secure the Battery Pack
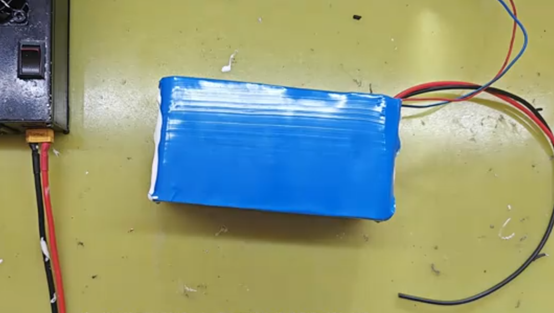
Finally, I wrapped the battery pack with heat shrink film for added protection and applied waterproof glue.
At this point, my 12V battery pack assembly was complete!
Making a 12V battery pack requires some technical knowledge and safety awareness, but by following the correct steps and precautions, I successfully built a stable and reliable battery pack. If you’re interested in electronics, this is a rewarding DIY project. Just remember: improper handling of lithium-ion batteries can be dangerous, so always prioritize safety.
Leave a Reply