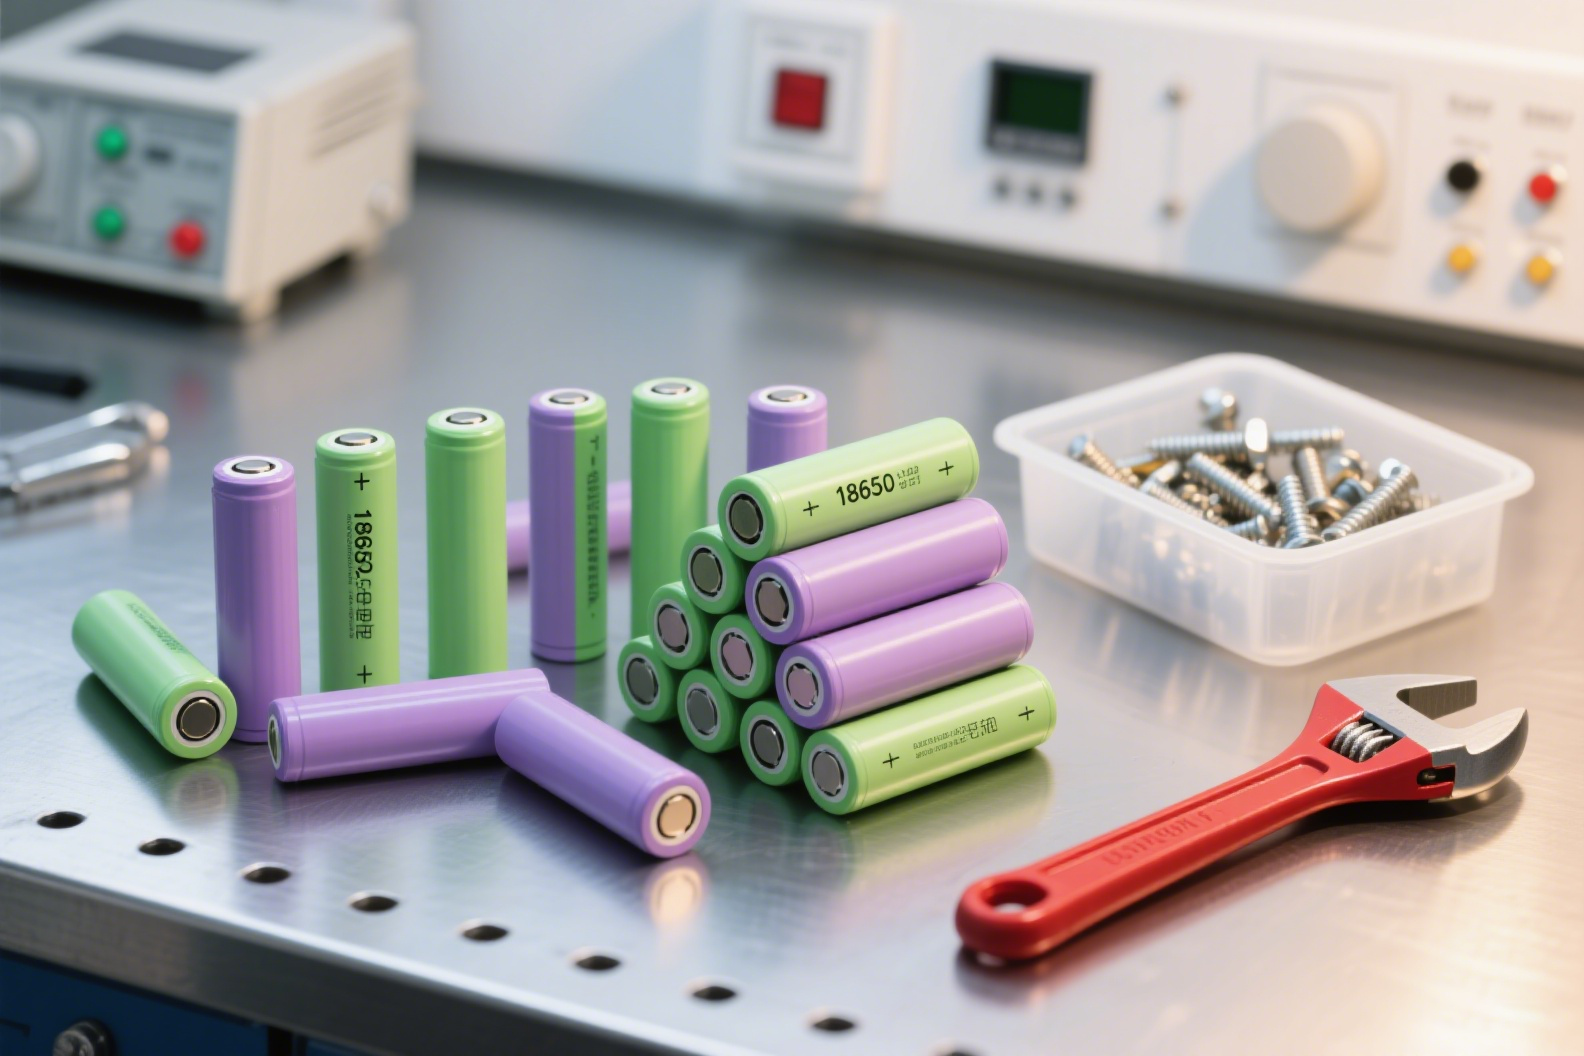
In the fields of new energy and energy storage, 18650 lithium batteries have become a core component in applications such as energy storage systems, power tools, and medical instruments. According to market research, the global 18650 battery market is expected to exceed USD 20 billion by 2025, with growing demand from enterprises for customized battery packs. This article will outline the complete process of building a DIY 18650 battery pack, helping business users master a cost-effective and highly adaptable battery solution.
DIY 18650 Battery Pack: Materials and Tools Preparation
Materials List
- 18650 battery cells
- Nickel strips
- Blue PVC heat shrink wrap
- Insulating paper/Kraft paper
- Connecting wires
Professional Tools List
- Welding tools: High-frequency spot welder
- Testing devices: Multimeter + Internal resistance tester
- Assembly tools: Battery holders, heat gun, insulating gloves
18650 Cell Selection
- Capacity and energy density: Choose cells with a capacity of over 2500mAh
- Internal resistance and consistency: Use an internal resistance tester; cells from the same batch should have a resistance difference ≤ 5mΩ and a voltage difference ≤ 0.05V
- Cycle life: Ensure the cell retains ≥ 80% capacity after 500 charge-discharge cycles
Voltage Testing Procedure
- Initial voltage check: Set the digital multimeter to the DC 20V range and touch the probes to the cell’s positive and negative terminals; normal voltage should fall between 3.7V and 4.2V
- Resting voltage check: Let the cell sit for 24 hours and measure the voltage again; if it drops more than 0.1V, the self-discharge rate is abnormally high

Battery Pack Parameter Design: Customized Solutions for Capacity and Voltage
- Voltage Calculation: Number of cells in series × Voltage of a single cell
(e.g., a 3S 12V battery pack = 3 × 3.7V = 11.1V, typically labeled as 12V) - Capacity Calculation: Number of cells in parallel × Capacity of a single cell
(e.g., a 4P 10Ah battery pack = 4 × 2.5Ah = 10Ah)
Typical Application Scenarios and Parameter Examples for 18650 Battery Packs
| Application Scenario | Recommended Voltage | Capacity Range | Series-Parallel Configuration |
|---|---|---|---|
| Solar Energy Storage Systems | 24V | 50Ah – 100Ah | 6S20P |
| Electric Forklifts | 48V | 200Ah – 500Ah | 13S80P |
| Medical Equipment Backup Power | 12V | 10Ah – 20Ah | 3S4P |

Complete Assembly Process of an 18650 Battery Pack
Cell Pre-Treatment
Dampen a lint-free cloth with anhydrous ethanol and gently wipe the positive and negative terminals of each cell to remove oil and oxidation, ensuring a clean and flat welding surface. Perform this step in a well-ventilated area, away from open flames, to prevent fire hazards due to ethanol evaporation.

Apply Insulation Tape
Attach high-temperature-resistant insulation tape to the sides and bottom of each cell. Ensure the tape is wide enough to fully cover the cell sides to prevent direct contact between cells, which could cause a short circuit.

Cell Arrangement and Fixation
Cell Placement
According to the designed series-parallel configuration, place the battery holder on a clean workbench and insert each cell into the holder slots in sequence. Ensure all cells face the same direction, with positive and negative terminals aligned according to the circuit design.
Note: Avoid large gaps between cells to prevent shaking during operation, which may affect performance.
Cell Fixation
Use dedicated adhesive or zip ties to secure the cells to the holder. Apply the adhesive evenly at the contact points between the cells and the holder. If using zip ties, tighten them moderately—firm enough to keep the cells stable, but not so tight as to damage them.

Technical Tip
After securing the cells, check that they are firmly fixed with no looseness or movement.
Nickel Strip Welding
Based on the spacing between cells and welding requirements, use cutting pliers to trim nickel strips to the appropriate length. Then, use tweezers to bend both ends of each strip into 90-degree angles to ensure better contact with the cell terminals.
Size Requirements
Control the length tolerance of the nickel strips within ±1mm. The bending angle must be precise to ensure tight and secure contact with the positive and negative terminals of the cells.

Spot Welding
Adjust the spot welder’s electrode heads to the proper position, ensuring firm contact with both the nickel strip and the cell surface. Set the spot welder parameters—typically, the current should be between 80A and 120A, and the welding time between 0.1s and 0.2s. Press the welding trigger to complete each weld. Apply 2–3 spot welds per connection point to ensure a secure and reliable bond.
Quality Check
Inspect each weld to ensure it is solid and full, with no cold joints. The nickel strip should be tightly bonded to the cell surface, and there should be no visible deformation at the welds.
Circuit Connection and Testing
Use a soldering iron to connect the output wires to the battery pack’s positive and negative terminals. Before soldering, tin the ends of the wires with solder to ensure strong bonding. Cut the wires to the required length based on your application, leaving a bit of extra slack for flexibility.
Technical Tip
Solder quickly to avoid prolonged heat exposure, which can damage the cells. Ensure solder joints are smooth and free of burrs.

Circuit Testing
Use a multimeter to measure the total voltage of the battery pack, ensuring it meets the design specifications. Then use an internal resistance tester to check the pack’s internal resistance; it should fall within a reasonable range without significant fluctuations.
Issue Handling: If abnormal voltage or resistance values appear, inspect welds for cold joints and check for damaged cells. Perform repairs promptly.
Insulation and Protection
Cut kraft paper to fit the shape of the battery pack and cover key areas such as weld points and connecting wires. Secure it with high-temperature-resistant tape to maintain a complete, undamaged insulation layer.
Protection Key Point: Make sure the kraft paper fully covers all exposed conductive parts to prevent short circuits.
Heat Shrink Tubing
Select heat shrink tubing of appropriate diameter and slide it over the connecting wires and weld points. Use a heat gun to evenly shrink the tubing, ensuring a tight fit around the components. Control the heat gun’s temperature and distance carefully to avoid damaging the tubing or cells.
Quality Requirement: After shrinking, the tubing should be smooth, wrinkle-free, and closely adhered to the components.
Blue PVC Film Packaging
Cut the blue PVC film to fit the battery pack size using a cutter, leaving about 3–5 cm of extra margin on all sides for wrapping.
Size Precision: Keep the cutting error within ±0.5 cm to ensure a neat and tidy final appearance after packaging.

Wrapping and Heat Shrinking
Wrap the pre-cut PVC film around the outside of the battery pack and temporarily secure the edges with high-temperature-resistant tape. Then, starting from one end of the pack, use a heat gun to slowly and evenly heat the PVC film, causing it to gradually shrink and conform tightly to the battery pack’s surface.
Avoid overheating any area to prevent deformation or discoloration of the PVC film.
Operation Tip: Move the heat gun steadily at a distance of about 10–15 cm from the PVC film to ensure even heat shrinkage.
Final Product Inspection
Conduct a thorough inspection of the battery pack, checking that the packaging is intact and the pack’s performance meets the required specifications.
From DIY to Scaled Production Solutions
By following a standardized DIY process for 18650 battery packs, companies can quickly respond to customized demands in energy storage, power tools, and other fields. For 18650 cell sourcing or personalized battery pack solutions, contact Apsenx. We provide comprehensive services from sample prototyping to mass production of customized lithium battery packs.
Leave a Reply