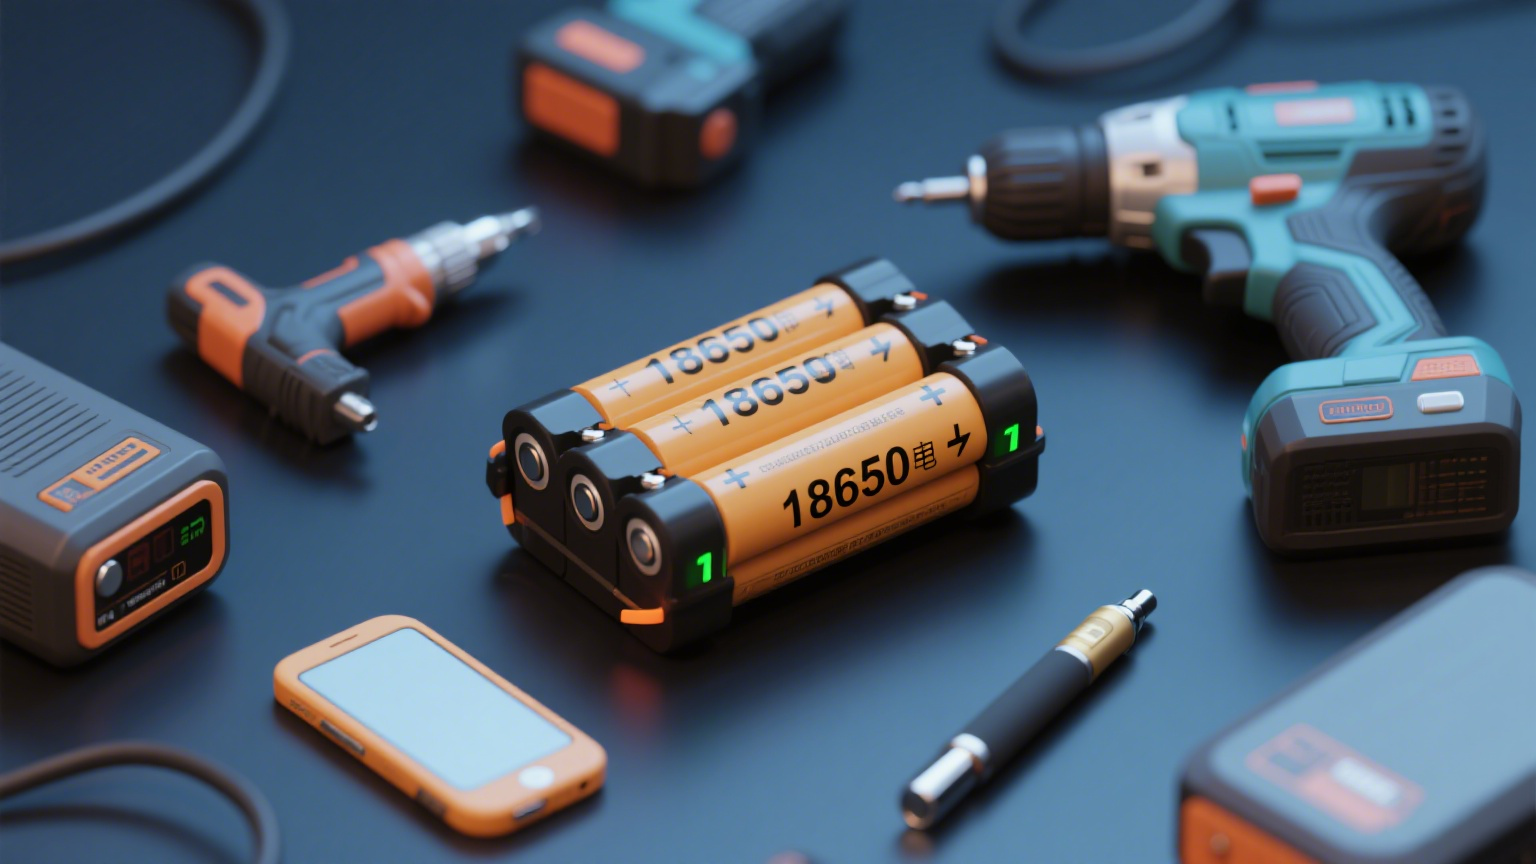
As demand grows for portable electronics and small energy storage systems, 18650 batteries have become a popular choice for building battery packs thanks to their cost-effectiveness and proven technology. Learning how to make a battery pack with 18650 batteries not only supports customized product needs but also helps reduce costs and enhance market competitiveness. This guide walks you through the full production process, key considerations, and practical tips.
Advantages and Applications of 18650 Battery Packs
18650 battery packs are widely used in power tools, power banks, e-cigarettes, and other applications. They offer several key advantages:
On one hand, 18650 batteries feature mature technology and strong consistency. By arranging cells in series or parallel, you can easily adjust the voltage and capacity to fit specific needs.
On the other hand, their standardized size makes installation easy, and they are readily available on the market at controlled costs. Whether you’re a DIY enthusiast or managing mass production, 18650 battery packs provide reliable and efficient power solution.

Materials and Tools Needed to Make a 18650 Battery Pack
(1) Core Materials
18650 Battery Cells: Use cells of the same model to ensure consistent capacity, voltage, and discharge rate. Common capacities range from 2000mAh to 3500mAh—choose according to your application.
Battery Management System (BMS): Protect the battery from overcharging, over-discharging, and overcurrent. Select a BMS that matches the pack’s voltage and current requirements.
Nickel Strips: Provide electrical connections between cells. Nickel-plated steel strips with a thickness of 0.1–0.2 mm work best.
Insulating Materials: Use fish paper, insulating tape, or similar materials to provide electrical insulation between cells and wiring.
(2) Essential Tools
Spot Welder: A professional spot welder ensures strong bonding between nickel strips and cells. If unavailable, a soldering iron can serve as an alternative—but control heat exposure carefully to avoid damaging the cells.
Multimeter: Measure cell voltage and test the overall performance of the battery pack.
Scissors and Tweezers: Cut nickel strips and assist with precise welding and placement.
Hot Glue Gun: Secure the BMS and wiring in place and improve the structural stability of the battery pack.

Step-by-Step Process for Making 18650 Battery Pack
(1) Cell Selection and Testing
Use a multimeter to measure the voltage of each cell, and make sure the voltage difference stays within ±0.05V. Remove any cells that don’t meet this standard. Also, inspect the cell surfaces—avoid using swollen or damaged cells.
(2) Design the Connection Scheme
Determine the series and parallel arrangement based on your device’s requirements:
Series Connection: Increases voltage. For example, connecting three 3.7V cells in series creates an 11.1V battery pack.
Parallel Connection: Increases capacity. For instance, connecting two 2000mAh cells in parallel yields a 4000mAh pack.
A combination of series and parallel configurations can meet more complex voltage and capacity needs.
(3) Cell Connection and Welding
Cut nickel strips to suitable lengths, and use a spot welder or soldering iron to weld the cells according to the design plan. During welding:
Make the welds firm and flat to avoid weak joints or short circuits.
Limit soldering time—do not exceed 3 seconds with a soldering iron—to prevent overheating and damaging the cells.
(4) Install the Battery Management System (BMS)
Connect the positive and negative terminals of the cell group to the corresponding ports on the BMS. Match the polarity correctly to avoid malfunction. After wiring, use hot glue to secure the BMS so it stays in place.
(5) Final Testing and Insulation
Use a multimeter to check the overall voltage and charge/discharge performance of the pack. Once everything works properly, wrap the battery pack with fish paper and insulating tape for electrical protection. The battery pack is now complete.

Safety Guidelines and Key Precautions During the Assembly Process
Cell Safety: Keep battery cells away from pressure, impact, open flames, and high temperatures.
Proper Soldering: When using a soldering iron, keep the temperature between 300–350°C to prevent burns or cell damage.
Insulation Protection: Ensure all connection points are well-insulated to avoid short circuits and potential fire hazards.
Work Environment: Assemble the battery pack in a dry, well-ventilated area free from flammable or explosive materials to reduce the risk of accidents.
Product Selection Tips for 18650 Battery Pack Materials
When purchasing 18650 cells, BMS boards, and other materials:
Choose products with international certifications like UL, CE, and RoHS to ensure quality and safety.
Work with suppliers who offer sample testing and technical support to improve reliability during the build process.
Carefully verify all product specifications before placing bulk orders to make sure they meet your design requirements.
Mastering the techniques for building 18650 battery packs is essential for both customized production and equipment upgrades. A standardized assembly process combined with quality materials is key to achieving safe and reliable results. If you need help sourcing materials or have technical questions about 18650 battery packs, feel free to contact us anytime.
Leave a Reply