
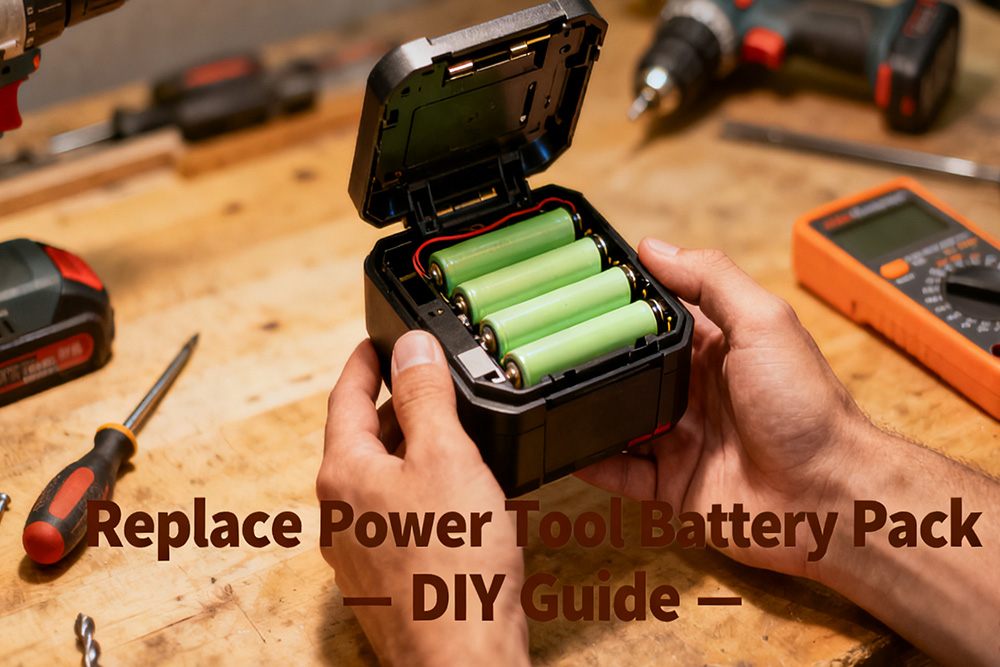
If you’ve ever grabbed your cordless drill or saw only to find it dead, you know the frustration of a worn-out battery pack. Luckily, with some care and patience, most power tool battery packs can be replaced or rebuilt, saving money and extending the life of your tools. Here’s a practical guide based on real-life experiences, not just manuals.
Understanding Your Battery Pack
Before doing anything, take a moment to understand what kind of battery you have. Most modern packs are lithium-ion, though older tools may use nickel-metal hydride (NiMH) or nickel-cadmium (NiCd). Each pack contains multiple cells wired together, often with a protection circuit to prevent overcharging or overheating.

Pro tip: Check the voltage and capacity stamped on the pack. This will help you choose the right replacement cells if you go the DIY route. Trying to mix cells of different capacities or chemistries is a recipe for frustration—or worse, a safety hazard.
Step-by-Step Replacement Process
1. Safety First
- Work in a well-ventilated area, preferably on a non-conductive surface.
- Wear safety glasses and gloves. Lithium-ion cells can catch fire if punctured or shorted.
- Make sure the battery is disconnected from both the tool and charger.

2. Disassemble the Pack
Carefully open the battery housing. Take note of how the cells are arranged and how wires connect to the protection circuit. A common approach is to take a photo for reference before removing anything.
3. Identify Weak or Dead Cells
Using a multimeter, check the voltage of each individual cell. Cells that read significantly lower than the others are likely dead. In one case I saw, a 12-cell pack had just two failing cells, and replacing them restored nearly full performance.
Tip from real users: Even if a pack looks fine externally, a single failing cell can cause the whole pack to underperform.
4. Source Replacement Cells
Only use cells that match the original chemistry, voltage, and capacity. Many DIYers order individual lithium-ion 18650 cells for this purpose. Avoid mixing old and new cells in the same pack unless you can charge them to the same level first.
5. Reassemble Carefully
- Reconnect the cells using spot welding or, if you must solder, be very quick to avoid overheating.
- Make sure insulation and spacing are correct—short circuits are dangerous.
- Keep the protection circuit intact if your pack has one.

6. Initial Charge and Test
Charge the rebuilt pack slowly and monitor for excessive heat. Then test it in your tool. If performance is still weak, double-check connections and cell balance.
Real-Life Tips and Tricks
- Avoid full discharges: Let the battery rest before it completely dies; this extends cell life.
- Storage matters: Store packs in a cool, dry place, ideally around 40–50% charge.
- DIY upgrades: Some users replace old NiCd packs with higher-capacity lithium cells, but this requires attention to voltage differences and BMS compatibility.
- Quick check before use: A brief visual inspection for swelling or corrosion can save headaches.
Tool Battery Cell Replacement: It’s More Than Swapping Old Cells
Many people think tool battery cell replacement is simply a matter of removing the old cells and welding in new ones. In reality, a reliable repair depends on much more than the cells themselves.
Before replacing any cells, check whether the original battery pack failed because of worn-out batteries, a damaged BMS, loose nickel strips, or poor spot welds. Replacing the cells without finding the real cause can leave the new pack with the same problem after only a short period of use.
Cell matching is another point that’s often overlooked. During a tool battery cell replacement, all cells should have similar capacity, internal resistance, and voltage before they are assembled into the pack. Mixing cells from different batches or with different performance levels can lead to imbalance, reduced runtime, and a shorter service life.
For repair shops and battery pack manufacturers, consistency matters just as much as capacity. Using high-quality cells with stable performance makes the rebuilt battery more reliable and reduces the chance of customer returns. That’s why many professionals source replacement cells in bulk from the same supplier instead of combining cells from different brands or production lots.
FAQ
Q: Can I replace just one cell?
A: Yes, but all cells should be at similar voltage and capacity. One new cell in a sea of old ones can cause imbalance and reduce performance.
Q: How do I know if my pack is beyond repair?
A: If cells are swollen, leaking, or the protection circuit is damaged, it’s safer to replace the entire pack.
Q: Do I need special tools?
A: Spot welders are ideal for connecting cells safely. Soldering can work but must be done carefully to avoid overheating. A multimeter is essential.

Using the Pack in Real Life
Imagine you’re building a deck or fixing furniture. With fresh battery pack, your drill or impact driver runs longer and maintains consistent torque. Over time, you’ll notice your tool performing reliably without sudden power drops—something you wouldn’t get with a half-dead pack.
Replacing a power tool battery pack can seem intimidating at first, but once you understand the cells, the wiring, and the safety precautions, it’s often a manageable project. Whether you’re a weekend DIYer or someone who uses cordless tools daily, knowing how to breathe new life into your batteries is both satisfying and practical.
-

12V 4400 mah Lithium ion 3S2P 18650 Battery Pack
-

18650 2000mAh 3.7 volt Lithium-ion Battery
-

18650 20V 3.0Ah Cordless Drill battery
-

18650 22.2V 7.8Ah 2600Mah 6S3P Rechargeable Battery Pack
-

18650 2600mAh Rechargeable Lithium-Ion Battery 3.7V
-

18650 3.7V 10Ah Li-Ion Power Battery Pack
-

18650 3.7V 3300mah Rechargeable Lithium ion Battery
-

18650 7S7P 24V 14Ah Lithium ion Electric Scooter Battery Pack
-

18650 battery 3.7V 1500mAh Lithium-Ion Battery
-

18650 Battery 3500 mah Rechargeable Battery Cells
-

18650 Electric Scooter 48V 13000mAh Lithium Battery
-

2600mAh 3S1P 11.1V 18650 Battery Packs
-

3.7V Li ion Rechargeable 3000mah 18650 Battery Cell
-

36V 5200mAh 10S2P 18650 Battery Pack
-

48v 4400mah 13S2P 18650 Rechargeable Battery Pack
-

7S2P 24V 18650 Lithium Battery Pack
-

Electric Scooter 36V 4400mAH 10S2P 18650 Battery Pack
-

ICR 18650 Battery 2200mah 3.7V
Leave a Reply